I know how it feels when your solar Inverter not working properly. It can completely disrupt you from using the electrical energy your solar panels are releasing.
Because of my many years of experience in the solar energy industry, I have answers to why your solar Inverter is not working.
So, let me first show you what can cause a solar inverter to stop working suddenly before getting to know how you reset a solar inverter. We are going to discuss all that in this article.
Let’s get into it now.
Related: How To Repair Solar Inverter.
Why Is The solar inverter not working properly?
Inverters are the most ignored electrical appliances despite their vital function in powering outages. Lack of attention is the primary reason inverters fail when you need them most.
After investing so much in inverters, you must also be ready to spend time and money on maintenance so that they can produce energy when needed.
Let’s see what usually fails in an inverter that makes they not work properly:
1. Outdated Capacitor
The major cause of inverter failure is electromechanical wear on capacitors.
Capacitors are critical components of inverters because they allow for constant power generation over various currents; nevertheless, electrolytic capacitors deteriorate fast and have a limited lifetime.
Capacitors are also quite sensitive to temperature fluctuations. High currents, which can cause temperatures to rise over the rated operating temperature, can reduce a component’s lifespan.
Higher temperatures cause electrolytes to evaporate faster, whereas lower temperatures cause capacitors to last longer.
2. Ultrasonic vibrations
Ultrasonic vibrations in inductive component cores induce friction, increasing device heat and damaging inverter components.
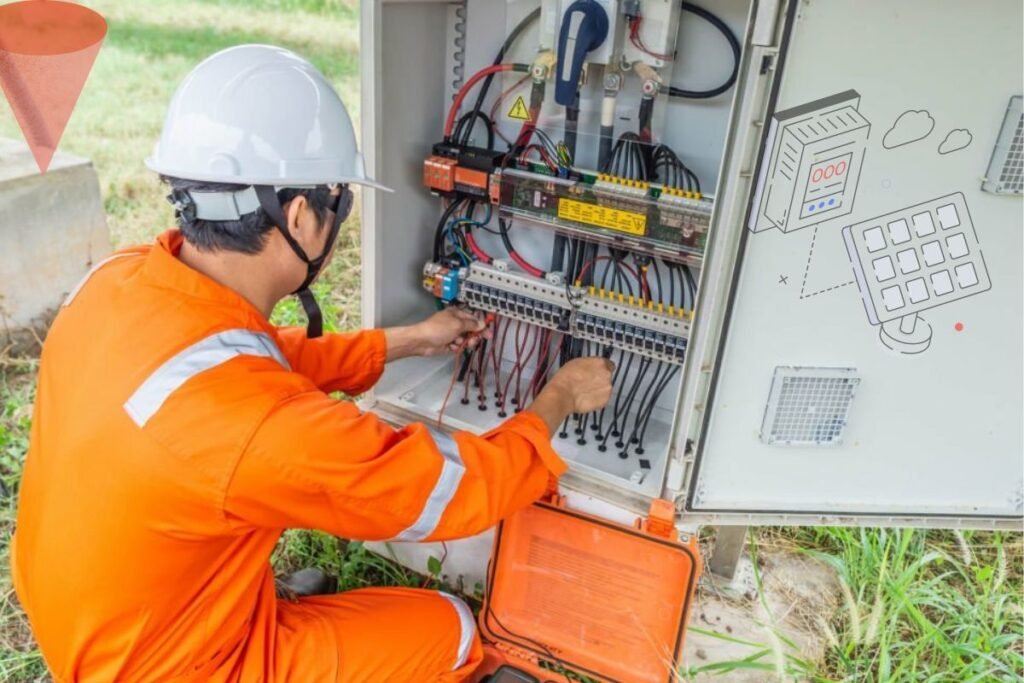
Like any electrical device, upkeep is essential. Over time, electrical connections weaken or degrade. A maintenance manager may disregard these symptoms of wear and tear if the Inverter is still working.
Cleaning the battery box terminals, fuses, and inverter connection at least every six months is important since it’s better to be safe than sorry.
If not done correctly, cleaning might cause more harm than good. Ideally, use a wire brush and grease dissolver.
Every battery terminal needs a protective sealant after cleaning and maintenance.
Avoid grease-based protective coatings because they attract dust, accelerate connection breakdown, and hide them from visual checks.
Inverters last longer with proper installation and maintenance, but when they fail, several options do exist.
3. Overused Inverter
Misuse of the Inverter is like misuse of any other electrical equipment, which can result in inverter failure due to lack of supervision.
Using inverters above their working limits, whether intentionally or unintentionally, can contribute to inverter bridge failure.
Using any component at a greater rating than its operational limit may reduce lifespan and lead to failure.
Therefore, eliminating this issue is as simple as ensuring all inverters run properly.
4. Over- and undervoltage
When there is overcurrent and overvoltage, it can cause inverter failure. If current or voltage exceeds the Inverter’s rating, it might harm device components, usually the inverter bridge.
This damage is often caused by high heat from voltage or current spikes. Fuse or circuit breakers can prevent overcurrent, but overvoltage is harder.
Voltage spikes can be artificial or induced by lightning or solar flares, which are hard to avoid on Earth.
5. Corroded or loose connections
Corroded or loose electrical connections can also limit inverter performance. This may be avoided by cleaning the battery box terminals, fuses, and inverter connections twice a year.
However, this cleaning must be done properly, preferably by a specialist. Improper cleaning could cause more harm than good.
Cleaning all connections with a wire brush and grease-dissolving solution is good. After cleaning and maintaining, seal all battery terminals.
It helps to secure and prolong connections.
Avoid grease-based protective coatings—they collect dust. Dust quickly deteriorates inverter connections and hides apparent damage.
6. Tripping Circuit
Fluctuating voltages due to unwanted spikes can cause circuit breakers that protect the inverter against short-circuiting and overload tripping after regular intervals, which is perplexing when troubleshooting circuitry.
Reaching out to a maintenance repair service should be considered, followed by further exploring the circuit to determine if the fault lies within the circuitry or elsewhere.
Read Also: About Smart Solar Inverter.
How Do You Reset A Solar Inverter?
Something went wrong generally that requires resetting your solar inverter.
A simple reset can address small faults, overheating, system software updates, and stubborn error messages.
Below are the steps to reset your solar inverter:
The Solar Inverter Reset Process
1. Turn off your solar system
Following these actions during reset will assure your safety:
Start a solar inverter by finding it and opening the bottom panel. Next, find the AC/DC toggle switch to turn off the solar inverter.
Find the AC Disconnect Box: It’s normally beside the inverter. Open the box to discover the solar system breaker.
Turn off your solar system breaker: This disconnects the AC power source from the inverter, powering down the system.
2. Wait and discharge
After shutting down the solar system, the inverter must release stored energy.
Wait at least 5 Minutes. Let the inverter fully discharge energy. Waiting at least 5 minutes is advised, but check your manufacturer’s instructions.
While waiting, avoid touching the solar disconnect box or electricity service panel to avoid touching active electrical components.
3. Find the reset button or switch
Find the reset button or switch once the inverter discharges. The placement depends on the inverter model.
4. Press the reset button
Use a pen and hold the reset button for a few seconds.
Following the reset, the inverter will reboot. Check the inverter’s indications for proper startup. Wait 25 seconds.
Turn everything back on in the same way after 30 seconds.
Reverse AC Disconnect Box Proceed to the AC Disconnect Box and reverse your actions.
5. Turn on the breaker
Turn on the solar system breaker in the AC Disconnect Box. The inverter will get AC power, and the system will restart.
Watch the inverter’s starting procedure and indications as the solar system turns on. Ensure the inverter works normally without error codes.
Circuit Inverter troubleshooting
Inverters often provide electricity to big loads, such as air conditioning units, and they can fail if the load gets too much or if there is an issue with their wiring.
The following hints will assist you in identifying and troubleshooting typical inverter issues.
Examine the fuse in the alternating current circuit: These are typically found within the fuse box and are intended to safeguard both your appliance and your inverter from overloading.
Replace it immediately if it looks broken or blown before making any further repairs.
Keep an ear out for odd noises: Long-term use may create grinding sounds caused by rusted moving components within; these devices should be changed as soon as feasible to continue performing at a safe level of operation.
Check wiring: Double-check that all cables are correctly connected, especially if you have recently moved or relocated the inverter, as this can occasionally create performance difficulties or full loss of power delivery capabilities.
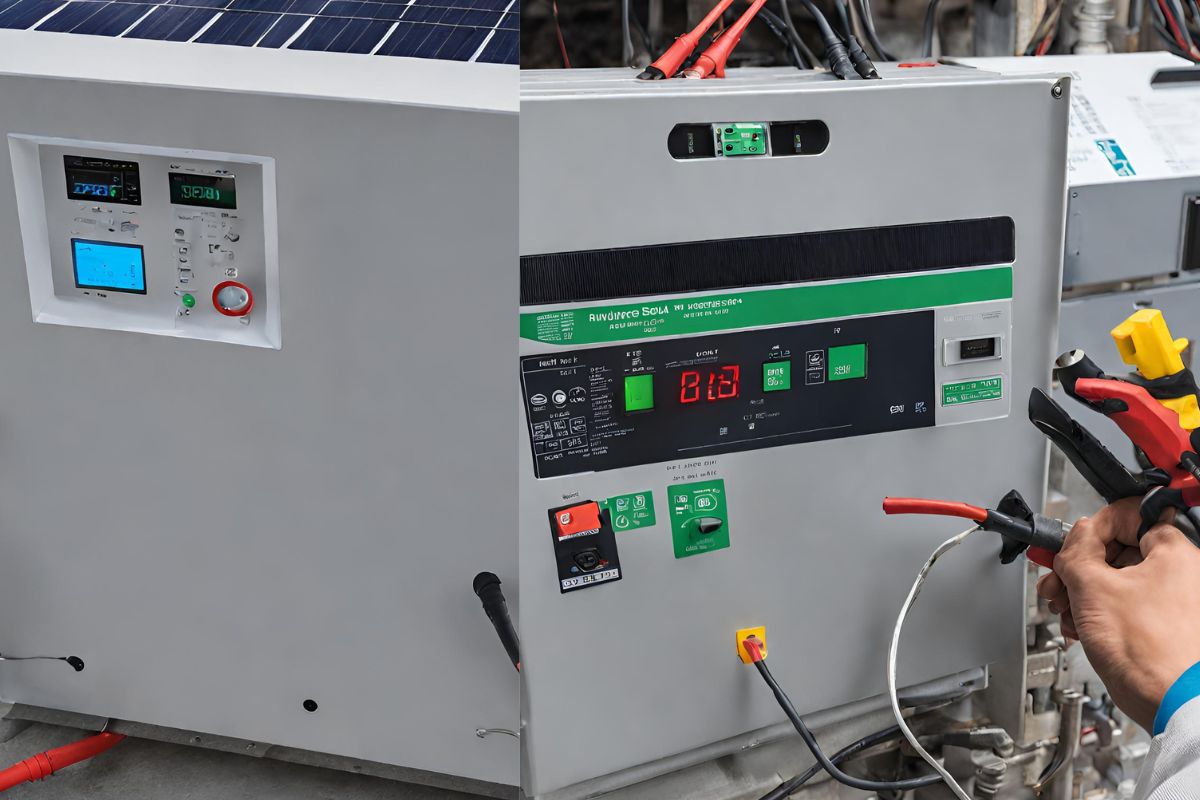
Test voltage output: Depending on the type of your inverter, you should have access to several ports that will allow you to test voltage output using a multimeter or other measuring equipment of your choosing.
The Solar Edge Inverter
The SolarEdge DC-AC PV inverter is designed to work with the SolarEdge power optimizers.
Since MPPT and voltage control are performed independently for each module by the power optimizer, the inverter is solely responsible for DC to AC inversion.
Consequently, it is a less sophisticated, more cost-effective, dependable solar inverter with a basic 10-year guarantee extended to 25 years.
The set string voltage enables efficient operation regardless of string length and temperature.
Power cycling a SolarEdge inverter:
1. Turn the red switch to the “0” position to turn it off. This is positioned either above the black dial/DC disconnect or on the left side of your inverter in the rear.
2. If you have a screen on your inverter, wait until the DC voltage reading falls below 50 VDC. Wait 5 minutes if your inverter does not have a screen.
3. Disconnect the DC power supply. This is the black dial located just in front of the inverter. Switch it to the “off” position.
4. Disconnect your system’s alternating current (AC). This is outdoors, near your utility meter. Look for a gray box labeled AC Disconnect with a lever you may pull down to the “off” position.
If you don’t see an AC Disconnect gray box, seek a breaker beneath your Net Meter Connect DER.
The breaker must be turned off. Unscrew the gray cover to gain access to the breaker.
5. Wait 35 seconds, then restart things in reverse order. Return the AC lever or breaker to the “on” position, the inverter dial to the “on” position, and the red switch to the “1” position.
How The Solaredge System Works
Before we go into the SolarEdge systems, let’s look at how a standard string solar system works.
Conventional solar inverters convert direct current (DC) power from linked solar panels to alternating current (AC).
This results in various string operating voltages depending on the weather and time of day.
String inverters monitor voltage and convert DC power to alternating current (AC) at the whole string’s maximum power point (MPP).
This works well in most cases unless there is partial shade, unclean cells, or problems with one or more panels, which frequently affects the overall string power.
Basic Schematic Of The Solaredge System
Optimizers are mounted on each solar panel and are DC-connected to the SolarEdge Inverter.
Inverters from SolarEdge, on the other hand, work at a fairly particular voltage.
They operate by connecting DC power optimizers to each solar panel.
The power optimizers work the same way as a maximum power point tracker (MPPT) in that they can either raise or decrease the panel voltage to provide the ideal voltage to the inverter.
If multiple panels are shaded or underperforming, resulting in low voltage or current, the other panel optimizers can compensate by providing the optimum string voltage for maximum performance.
Of course, the SolarEdge system has significant restrictions. For example, if numerous panels are shaded or underperforming, the optimizers can only correct so much until the system’s performance suffers.
Power optimizers cannot create more electricity when the weather is unfavorable or when most panels are dirty or shaded.
Read Also: How To Connect Solar Panel To Inverter Without Battery.
Final Thought
You must have learned from this article what usually fails in an inverter and how to solve these common issues.
One major thing you should protect your inverter from is excessive heat.
Sometimes, ultrasonic vibrations occur due to inductive parts that rub against each other, which can also make the inverter produce more heat, which is not good because too much heat can cause the inverter to fail over time.
Also, watch out for inconsistency in the currents going to the motor, which means there is a leaking current to the earth. This is often caused by insulation that is resistant to the earthing.
I will always advise you to seek professional help regarding inverter failure.
Read Also: What Maintenance Is Required For A Solar Inverter?


