Today world, we are mostly faced with security and timely issues. Having your ring devices hang up around your home will only be nice if they do their job.
But when your ring solar panel is not charging, it could be a big mess, and I know how it can feel.
The main purpose of the ring solar panel is to allow a constant power flow to your ring devices.
In this article, I will reveal why the ring solar panel is not charging this device and how to make it work through the clock.
You can also read how to super charge your home with 400 watt solar panel.
Why Is My Ring Solar Panel Not Charging
We have established that the ring solar panel plays a lot of role in ensuring your ring devices work all clock round for optimal results.
Ring is a top brand for security and intelligent camera surveillance units.
They also have solar panels to monitor your home continuously without a dead battery issue.
This complements a full line of home security devices, particularly their video doorbells and security cameras.
There are common reasons why your ring solar panel is not charging. Let take our time to study some of them now:
1. Your Ring solar panel should be exposed to direct sunlight.
A lack of direct sunshine is one common reason your Ring solar panel won’t charge. So, for it to charge properly, it needs a sufficient amount of sunlight.
These panels must be exposed to 4 to 5 hours of direct, unobstructed sunlight daily to charge fully. This is approximately the time needed to charge the doorbell camera.
Insufficient sunlight is a very common reason for solar panels not charging.
Even if your solar panel connections are secure, they will only charge once sunlight is enough.
To fix this problem. Ensure the solar panel is not in the shade for long during sunlight hours. Remove any obstructions to sunlight in front of the solar panel.
2. The solar panel needs to be reinstalled
Ring solar panels are used outdoors, the cables and solar panels require maintenance.
Sometimes with regular use, the solar panels and cables may need to be cared for and lack of that may cause.
For that, you need to reinstall your ring solar panel. This will ensure that all connections are securely in place. To do this, you must first uninstall and reinstall the solar panel.
Follow the steps below to do it:
- Disconnect the cables from your Ring solar panel.
- Carefully examine all cables. Make sure nothing is loose, connected incorrectly, or physically damaged.
- Examine the cable plug for dirt, dust, or grime.
- Reconnect the cables and panel.
- Press and hold the setting button for about 20 seconds.
- Release the setting button, then wait a minute for the camera to reset.
- Open settings in your Ring app.
- Reconnect the camera to your WiFi network.
- Make sure the status of your solar panel says “Connected.”
Not only will this help you remove debris from your panel, but it will also reset and eliminate any potential errors or glitches.
Follow these steps to reset the camera:
- Press the Settings button and hold for 20 seconds.
- Release the button. In one minute, the camera will resume.
- Enter Ring app settings. Reconnect the camera to house Wi-Fi.
It would be best to keep your ring camera software up to date. Its features will not work properly if you do not have a recent update.
3. Make sure your ring gadget and solar panel work harmoniously.
Ring and solar panels may not work together to power your electronics. Not all Ring doorbells and cameras can be charged by the Ring solar panel.
Ring spotlight cameras cannot use the conventional Ring solar panel. A Super Solar Panel is needed to charge this item.
4. The possibility of A defect inside solar panels.
The solar panel that your solar panel could be damaged. It may occur due to insufficient maintenance, bad weather, or manufacturer’s defect.
The most typical problems with solar panels are:
- Scratches on panel
- Broken solar cells
- External material inside the solar module
- Gaps between frame and glass
- Debris in the solar module
If you find any defects on your solar panel, contact the store where you purchased it or the Ring customer service line.
Step-By-Step Troubleshooting Your Ring Charging Panel
When your ring solar panel is not charging your ring device as expected, it’s time to dive into the troubleshooting process.
Ring charging panels, such as the Ring video doorbell Pro and Ring stick-up cam, are the ideal accessories for charging your ring devices.
Step 1: Check Sunlight Exposure
Assess the placement of your solar panel. Ensure it is positioned where it can receive maximum sunlight throughout the day.
Ensure there are no obstructions between the charging station and your Ring devices.
Remove any objects that are preventing your devices from charging properly.
Sometimes, small things, like leaves and debris, can get stuck in your ring device and cause the charging station to stop working.
Adjust the angle or position of the solar panel to optimize sunlight absorption.
Monitor the solar panel over a few days to observe if there is an improvement in charging performance.
Step 2: Inspect and Clean the Solar Panels
Turn off your Ring device and disconnect the solar panel from the power source.
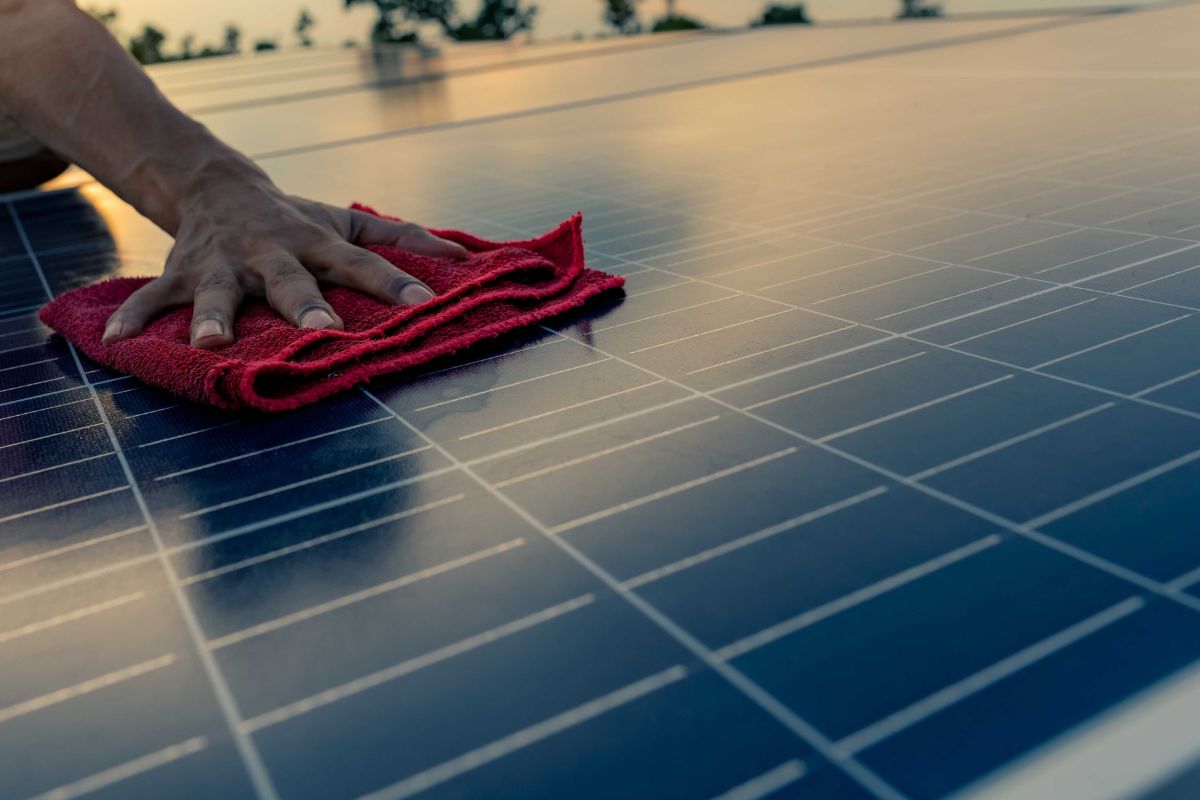
Clean the solar panel’s surface using a soft cloth or sponge, mild detergent, and water. Avoid using abrasive materials or harsh chemicals.
Clear away any dirt, dust, or debris that has gathered on the panel.
Before attaching the panel to your Ring device, rinse it with clean water and let it air dry.
Do regularly schedule cleaning sessions to maintain the solar panel’s optimal charging efficiency.
Step 3: Check your power source
The first step in troubleshooting your Ring charging station is to ensure it receives power. Check the outlet you are using to make sure it is working properly.
If not, try plugging your charging station into another outlet. Always use an AC power adapter that is compatible with your Ring device.
Step 4: Check your charger cable
Ensure that your charging cable is connected to your Ring device’s charger base.
Ensure none prongs are bent or damaged and the cable is not twisted or frayed. A frayed cord can cause charging problems and may pose a fire hazard.
Step 3: Check your network connectivity
A poor network connection can also cause problems with your Ring charging station.
Ensure your Wi-Fi network is stable and all your Ring devices are connected to the network. A weak Wi-Fi signal can cause your charging station to stop working properly.
Step 6: Check your device settings
Make sure your Ring device settings are configured correctly. Verify that your Ring devices are set to the correct modes and that the motion detection settings are configured correctly.
You may need to change the settings for the charging station to work properly.
Step 7: Restart your charging station
Sometimes, all you need to do is restart your charging station. Try unplugging the charger from the outlet and then plugging it back in.
This simple solution often works, especially if the charging station has been running continuously for an extended period.
If, after following these troubleshooting steps, your Ring Solar Panel still isn’t charging your Ring device properly, it’s recommended to contact Ring’s customer support for further assistance.
They can provide additional guidance and help determine if a hardware issue needs to be addressed.
Simple Step To Solve Ring Solar Panel Not Charging
There are two simple solutions. The typical method to solve your Ring devices not charging from a solar panel is to remove the cord first. Examine the cable connection for debris or obstruction.
If you don’t locate any trash or obstructions, look for any issues with the wires.
Loose cables caused the majority of the issues discovered. Another issue is poorly connected cables.
Reattach the solar panel to the device after testing both concerns. Check to see if the issue persists!
As previously indicated, the fault in the ring solar panel’s ring device might cause ring solar panel devices not to charge.
Open the ring app on your smartphone and navigate to the device health to verify the Ring solar panel device fault.
Check to see if the app displays the connected solar panel or not! If you don’t see a connected solar panel in the Ring app, your solar panel may be damaged.
If you discover your solar panel is not working elsewhere, you must replace it. Contact the retailer where you purchased it and, if feasible, exchange it.
Conclusion
We have learned how to resolve the Ring solar panel not charging issue. Here are other great features of the ring solar ring panels
A ring solar panel is designed to last, generate electricity, and appear elegantly. The solar panel can withstand temperatures from -19°F to about 120°F and is completely weatherproof.
Here, you can read about how to ring doorbell solar panel chargers.
A ring solar panel defies the weather, no matter where you are at home. With a ring solar panel, you can be confident that your ring spotlight cam is always fully charged.


